For a step by step guide on how to set up your Xero Export, please click here.
There are two ways in which you can export invoices to Xero
- Bulk Export
- Individual Export
This article covers how to export an individual invoices in bulk to Xero. To find out more about the Individual Export functionality, click here.
Invoices can be exported in bulk from two places within WriteUpp:
- Finance -> Invoices
- Patient Summary -> Account
From either screen, you'll be presented with a list of invoices, and the process by which you complete a bulk export will be the same.
The bulk export is limited to 15 invoices at a time.
To export in bulk:
1. From the list of invoices, use the tick boxes in the first column to select which invoices you'd like to export. Ticking the box in line with the column headings will select all invoices , or you can select individual invoices by choosing certain boxes only. If you select all invoices, only the first 15 will be exported due to the export size limit.
2. Once you've chosen your invoices, click on the blue Actions button at the top of the list and choose Export to Xero
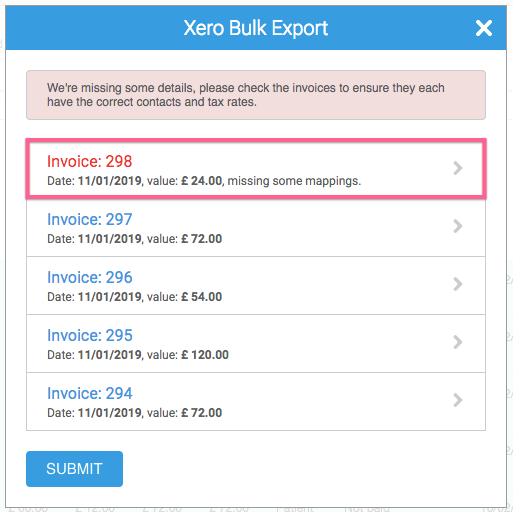
3. WriteUpp will then run a validation check to make sure that:
- The party each invoice is payable by has been mapped to a Xero contact
- The VAT applied to each line item of each invoice has been mapped to a Xero tax rate:

There is also a dropdown to select the sales account this invoice will use in Xero. By default, this will use the sales account chosen on the Xero Integration screen, unless a specific sales account has been set for the contact. You can also update this for an individual invoice in the export modal during a bulk export.
If you haven't mapped who the invoice is payable by to a contact within Xero, this will need completed by using the dropdown box under Payable by, which will contain a list of your contacts from Xero:
If you haven't mapped the VAT rate used against the invoice item to a Tax Rate within Xero, this will need completed using the dropdown box under Mapping against the invoice item:
It's much easier to map tax rates within Settings -> Invoice -> VAT rate, as you'll see the name assigned to each rate. Here on the invoice screen, you'll see short codes for your Xero tax rates and it can be harder to identify what's what.
If you need to check the invoice, you can do so by clicking on Go to invoice, which will open the invoice in a new window.
6. Once you've completed the details required, you'll see a green message at the top of the screen, and clicking Update will take you back to the export list:
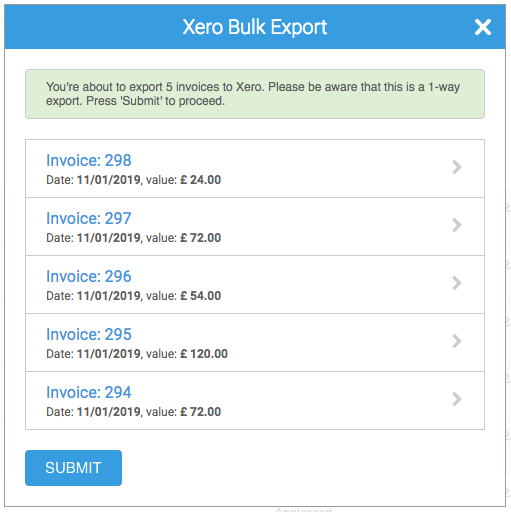
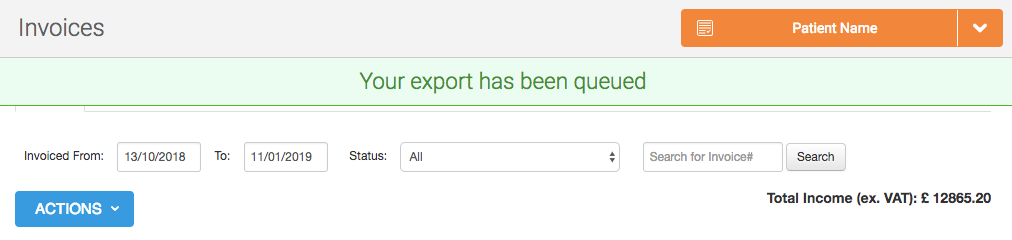
7. Once all the invoices are correctly mapped, you'll see a green message at the top of the screen, and pressing Submit will queue the export to Xero:

Clicking on the Xero icon will open the invoice within Xero in a new tab.
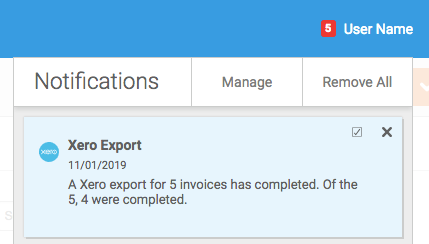
And as long as you've not turned notifications off for the event 'Xero Export Complete', you'll receive a notification once the export has completed: