Once you have some files uploaded to the File Storage area, you can start attaching them to messages being sent out to clients, NOKs, third parties and colleagues.
To attach a file from File Storage to an Email:
1. Go to Create -> Message and the Email tab should open
2. Make sure you have the correct client set as the Active Patient. You can use the Switch icon to change patients if needed.
3. Select the recipient and add some text to the Subject field and main body of the email (or select a template)
4. Click the blue Manage Attachments button to add a file from File Storage to the email:
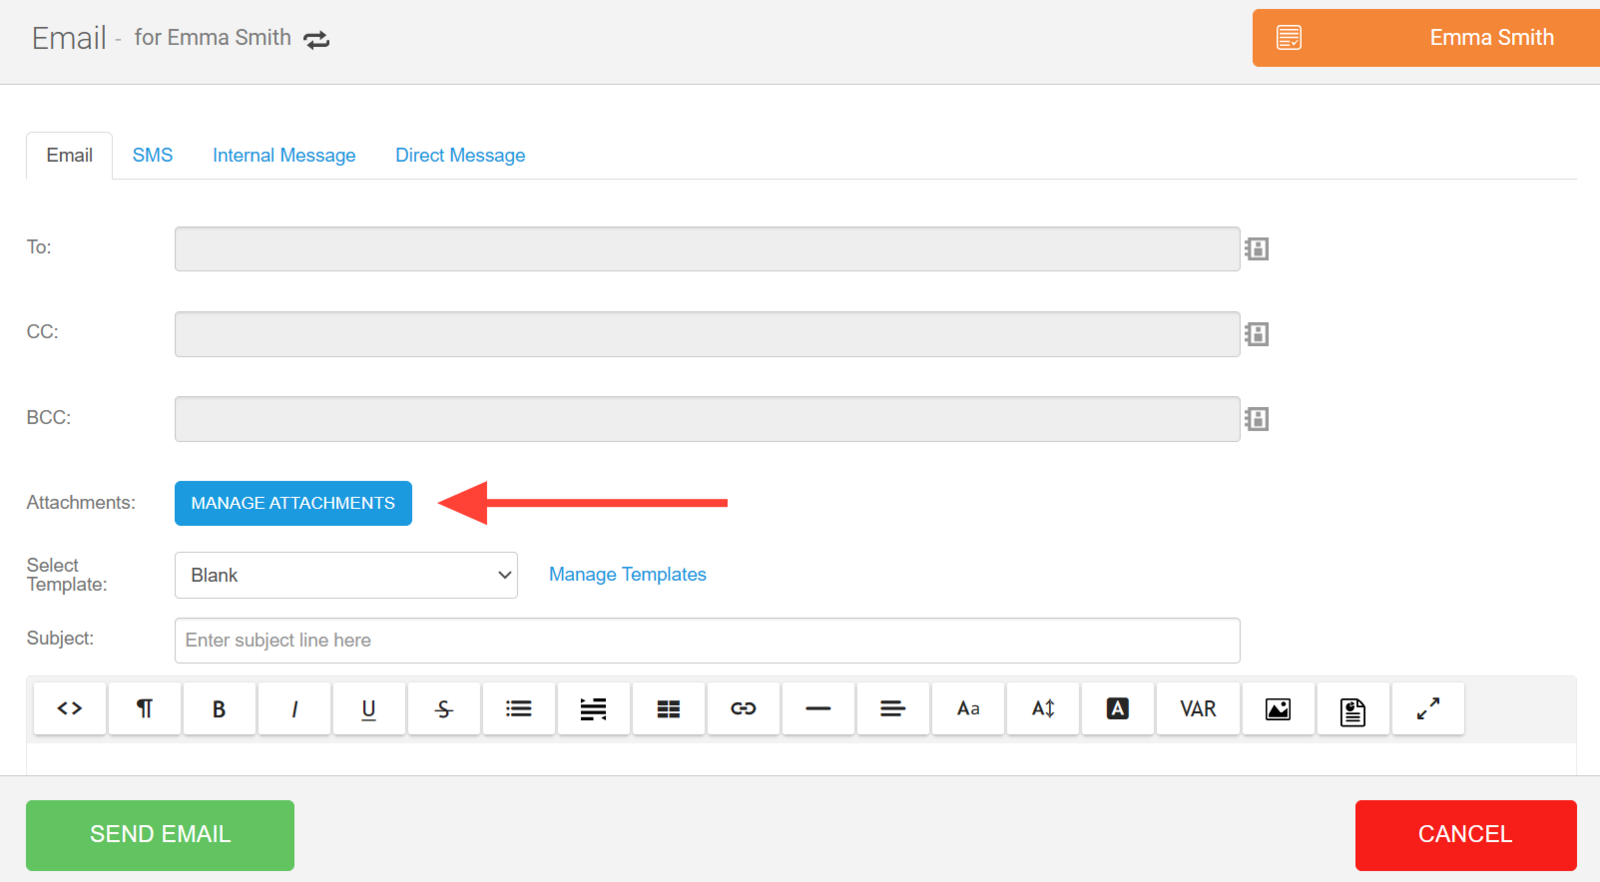
If you are sending a client note, document, assessment, invoice or consent form via email, then you will already see this listed in the Attachments section of the message. You can then add more files from File Storage to the email using the 'Manage Attachments' button.
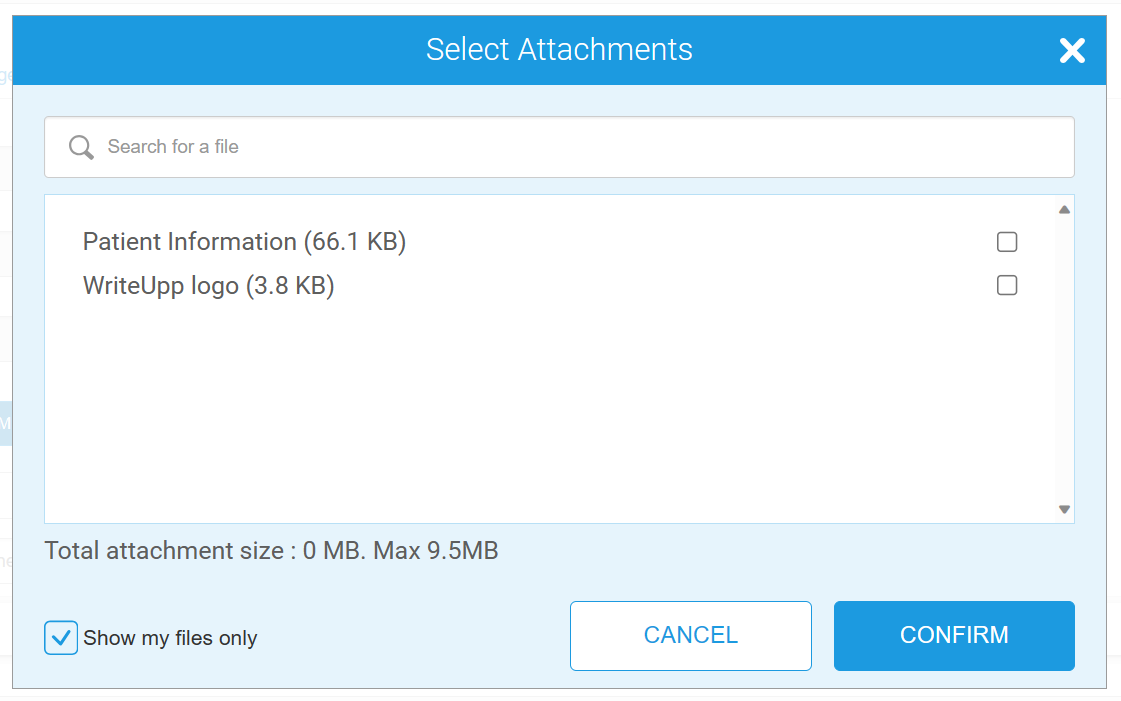
Tip: If you want to see all of the files uploaded to File Storage, including those uploaded by other users on your site, untick the ‘Show my files only’ checkbox.
Warning: The maximum size of an email that can be sent from WriteUpp is 10MB, so please bear this in mind when adding attachments. Your email may not get sent if an attachment is too large or if the email has too many attachments! You can see the Total Attachment Size at the bottom of the ‘Select attachments’ modal.
If your email is too large, you will see a warning message of this. We recommend sending your message as a Direct Message if this is the case, as you can add larger attachments. Read here for more information on sending attachments via Direct Message.
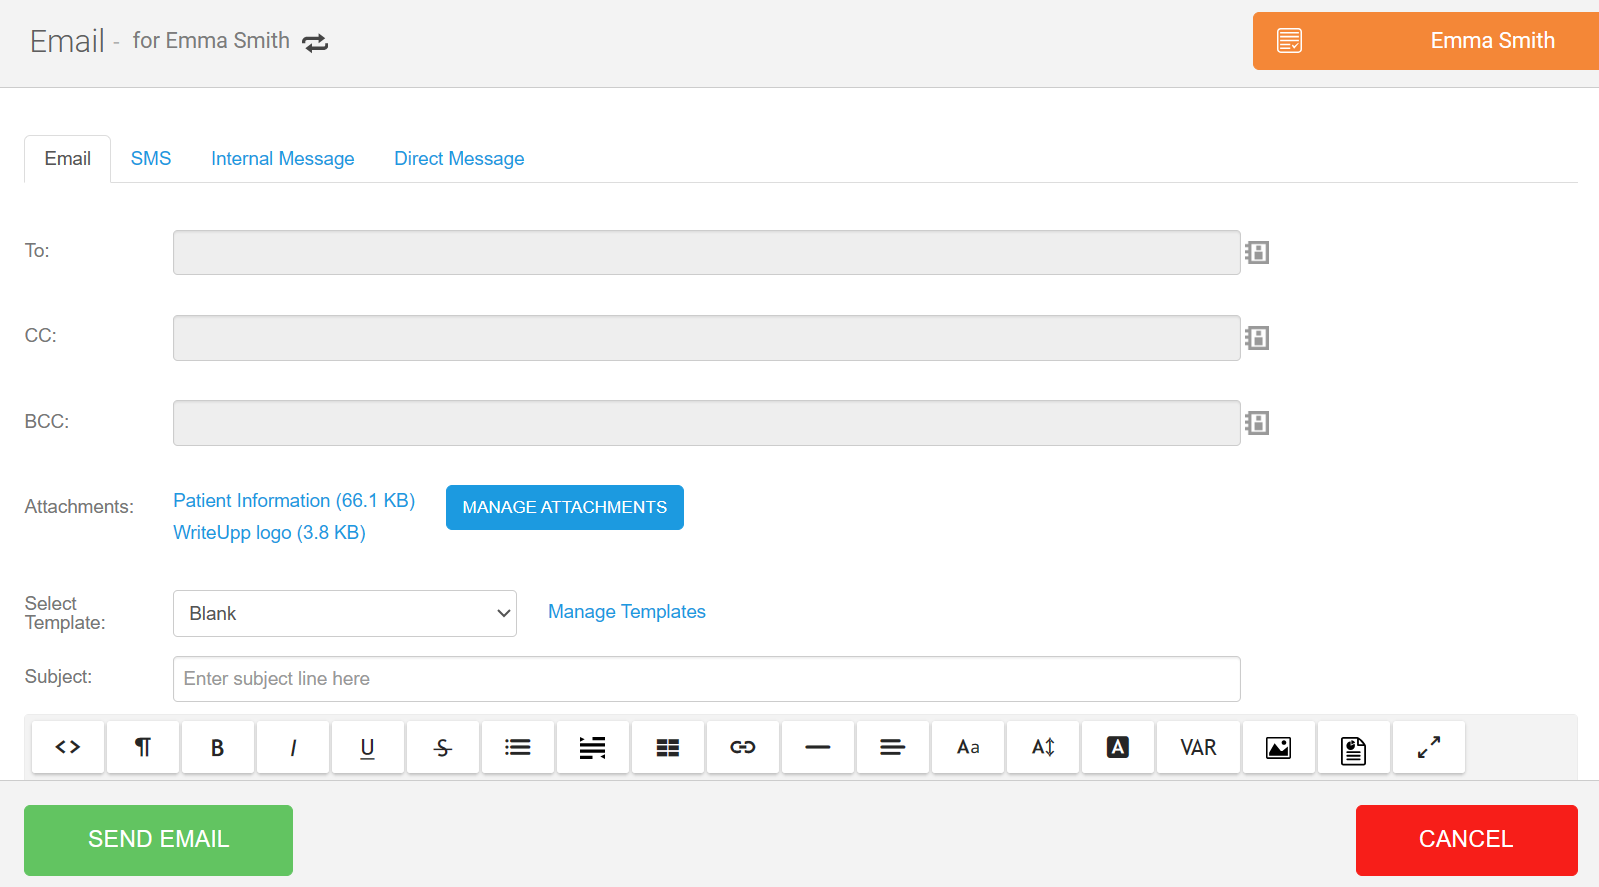
9. Once you are happy with your email draft, click Send Email.
10. You can then head to the Messages tab of the Patient Summary if you wish to view the sent email. When you view it here, you will be able to see the details of the email, as well as which attachments were sent.
Make it quicker to compose emails with attachments that you frequently send out by adding files from File Storage to Email Templates - read more here.